
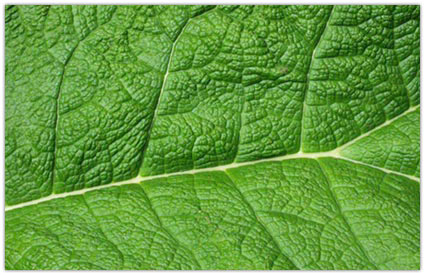
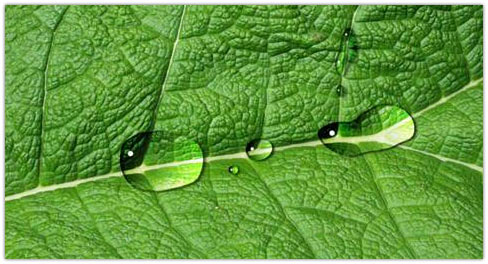
1. Open any image that you want to add rain drops too. In order to make this look more realisitc, I'm going to use the following image of a green leaf.
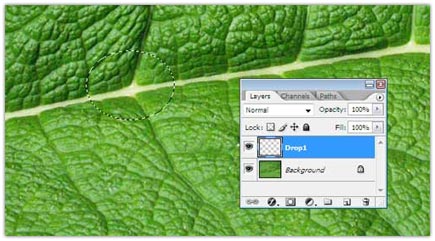
2. Create a new layer named Drop1 and select the Elliptical Marquee Tool and make a selection which looks like a drop on the leaf.
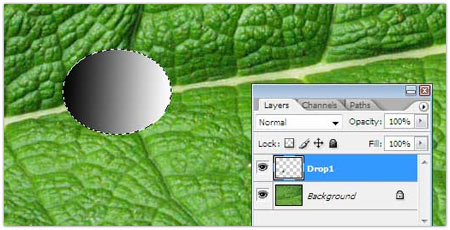
3. Next set press D on your keyboard to set the foreground color to black and the background color to white, or you can do this manually. After reseting these colors, select the Gradient Tool from the Tools Palette. In the tool options bar at the top of the screen, make sure that the first button, linear gradient is selected and that the foreground to background gradient is selected.

Now that the proper Gradient Tool settings have been selected, drag the mouse from the left side of the selected oval to the right.
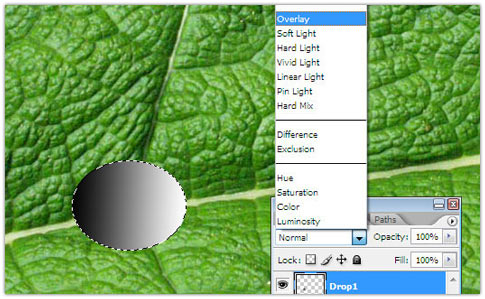
4. With the Drop 1 layer selected, change this layer's blend mode to Overlay in the Layers Palette.
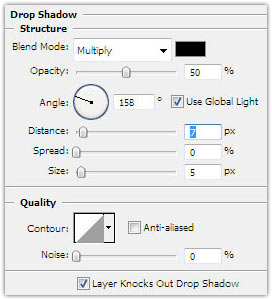
5. Next right-click on the Drop 1 layer and select Blending Options. Apply the following Drop Shadow settings: Opacity 50, Angle 158, Distance 7, Spread 0, and Size 5.
6. Apply the following Inner Shadow settings: Opacity 75, Angle 158, Distance 5, Spread 0, and Size 5.
7. For the Glow Effect, create a new layer named Glow and set the foreground color to white. Then select the Brush Tool and make a small dot in the drop. Here is the final effect:
Note: For making the curved drops select the Drop 1 layer then go to Filter > Liquify and make appropriate shape and click OK.


No comments:
Post a Comment